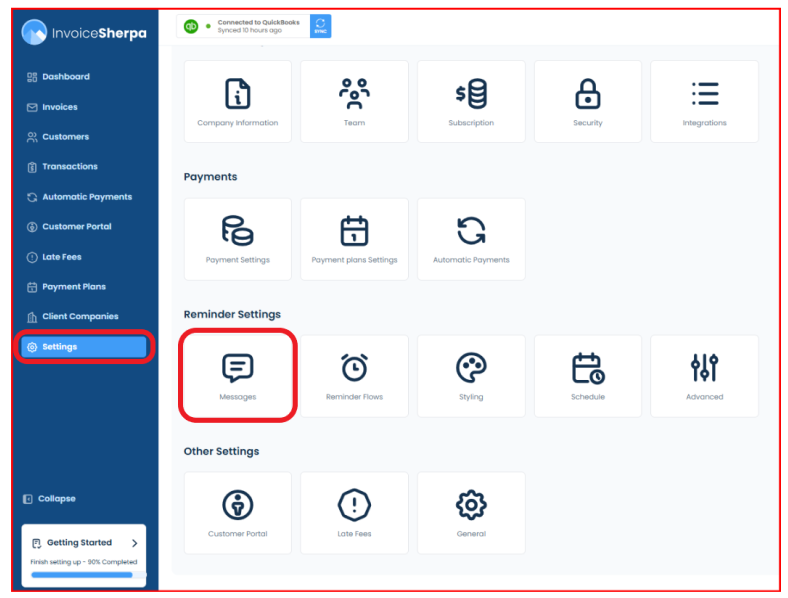
Invoice Reminders Settings
This article will briefly go over important settings found in Invoice Reminder Settings
Messages:
- "Send reminders to all email addresses of a customer"
- Would like all customer emails to receive a reminder, if not selected then on the primary email will do so.
- "Include invoice attachments with reminders"
- If in the account platform you have attachments associated to invoice toggle this option on so that your customer will also receive those with their reminder.
- "Invoice PDF attachment"
- Three option either to attach a pdf, link to one or nothing.
- "Reminder "reply-to" email address"
- Here you can add an internal email if you wish your customer to communicate to you regarding a said reminder.
- "Reminder "Bcc" email address"
- If you wish to be copied on all reminders sent add your internal email here.
Reminder Flows:
- "Combine invoice reminders into a statement"
- Here you can opt to send a statement if your customer has more that 1 invoice going out ie if they have 3 invoices so instead of sending 3 reminders send 1 with a link to all 3.
- "Send invoice ready emails for automatically paid invoices"
- If you customer is on automatic payment and you would still like them to receive a ready reminder toggle the option on ie from grey to blue.
- "Show credit memos on statements"
- If you use credit memos toggle this option on and your customer will see their credit memos as a line item on their monthly statements.
- "Minimum invoice amount due to send a reminder"
- After sending out a invoice ready reminder you can select not to follow up with the customer if the invoice amount is less than x amount.
Styling:
- "Hide "powered by" logo on reminders"
- On the footer of the reminders you can select not to show the following:
- "Personalize email reminder footer"
- Here you can add your internal details that you wish to appear on the footer of the reminders.
Schedule:
- "Send last reminders when resuming system"
- If you pause the system upon reactivating the system do you want to resend the last reminders that the system sent, if so toggle this option on.
- "Delay invoice ready reminders by"
- If you wish to for whatever reason delay sending reminders please add the timeframe in minutes here.
- "Send reminders on your preferred schedule"
- Here you can pick the time of day and the day/s of the week you wish your reminders to be sent.
Advanced:
"Email Domain Authentication"
- You'll need this following text if you wish to show the sending domain as yours and not InvoiceSherpa. Note: Contact your provider for specific setup-related questions.
Combine Reminder Limit: This rule combines several reminders into one statement. Once the total amount of reminders reaches limit “x” a combined statement will be sent
For example: if the limit is set at 4 and one of your customers has 4 or more reminders scheduled, they will receive a statement instead of 4 individual reminders.
This is an example of the Statement that will be sent to your customers:
Hold All Actions on Weekends: This feature will hold ALL actions over the weekend.
For Example: If your customer has a Reminder scheduled for March 23rd, but the 23rd falls on a Saturday, the customer will not be charged until the following Monday.
Send Reminders to All Emails: This feature will send reminders to all email addresses on file for your customers.
Reminder Timings: This setting allows you to control the day(s) and time(s) reminders are sent. If you use this setting reminders will only go out on the selected days.
For Example: If you choose to only send reminders on Mondays at 9:00, your reminders will all hold until that day to be sent – regardless of the invoice creation date/due date.
Send an Email from your Domain: First, enter your email address here.
Then click the blue “Validate Domain” button.
This should validate your domain, unless a text box appears under the “Validate Domain” button, see below:
If the box above appears, you need to manually enter the text into your DNS. Once completed return to
“Reminder Settings” and click the blue “Validate Domain” button.