Client Account Set Up
How To Turn On a Billing Plan For A Client Connected To Your ISTA Account
After you've successfully connected one of your clients to your ISTA account, you'll want to select the billing plan they'll go on (the number of monthly invoices they'll be billed for once their free trial is up).
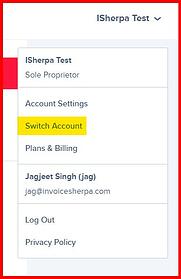
Log into your Trusted Advisor Account with your unique username and password. (If you're still signed in, but currently "inside" your client's account go to the "Switch Account" in the upper right-hand drop-down menu to switch back into your main account.
Once in the Home Dashboard of your ISTA account, you can use the following steps to adjust your connected client(s) payment plan(s).
1. On the left-hand side of your screen navigate to the "Settings" tab.
2. From that menu select "Accounting Integrations."
3. Scroll all the way to the bottom of the screen - you'll see all of your connected clients listed under the "Additional Companies" section.
4. You'll see a drop-down menu in the "Billing Plan" section of all your connected accounts individual listings.
5. Simply select the level that you want them to be billed at based on the number of invoices they'll be processing monthly (remember you get to give them a 20% discount off the price you see here)!
6. After you select the plan level, you'll see a green pop up on the upper right-hand side of your screen that says "Payment Plan Updated!"
This amount will be billed to the card on file once their 14 days free trial period is over (you can also see the trial start date to the left of where you'll pick their plan level).